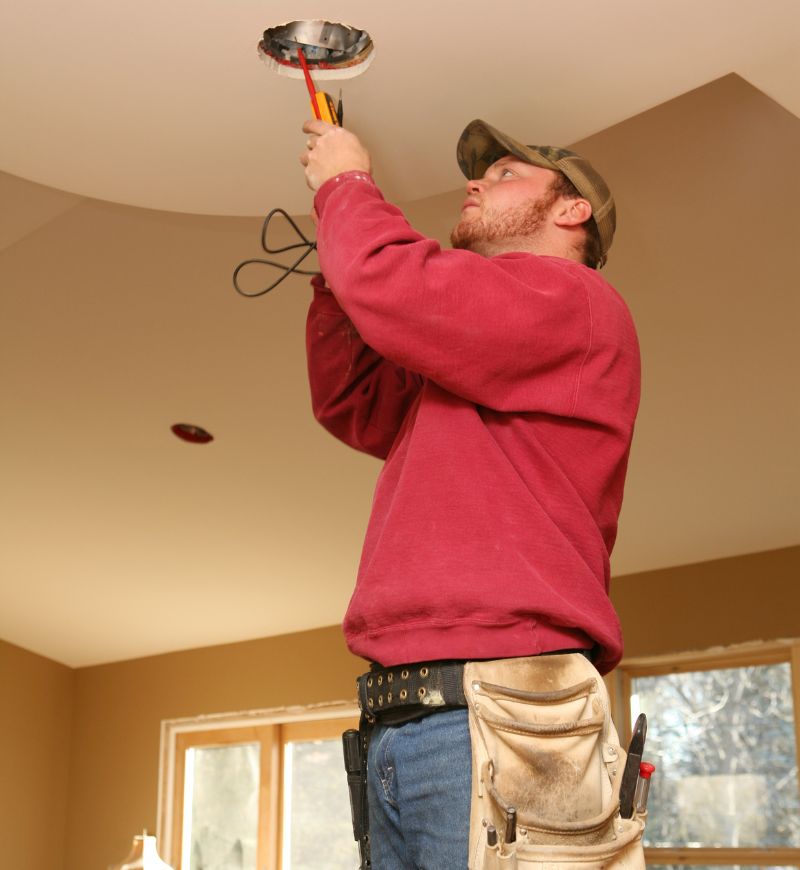
If you have a light fixture in your home that needs to be replaced, it is important to follow the proper steps. Replacing a light fixture is not difficult, but it requires some basic knowledge and tools. Below is a step-by-step guide on how to replace a light fixture in your home:
Turn Off the Power to the Light Fixture
You can turn off the power to the light fixture by flipping the switch on the wall to the “off” position. Alternatively, you can turn off the power to the light fixture at the breaker box. This is the safest way to ensure no power running to the light fixture. By turning off the power, you are protecting yourself from electrocution.
Remove the Light Fixture
Once the power is off, you can begin removing the light fixture. Depending on the type of light fixture, there may be a few screws holding it in place. Once the screws are removed, you can carefully remove the light fixture.
Be sure to handle the light fixture carefully as some parts may be fragile. Also, keep track of any screws or other small parts so that you can put them back in place when you install the new light fixture.
Install the New Light Fixture
Now that the old light fixture is removed, you can install the new one. Follow the instructions that came with the new light fixture. In general, you will need to attach the new light fixture to the electrical box in the wall. You will do this by screwing it into place.
Once it is secure, you can then screw in the light bulb and turn on the power. To screw in the light bulb, you must find the right size socket wrench. If you don’t have a socket wrench, you can usually find one at your local hardware store or get one from your electrical contractor Coral Springs.
When installing the new light fixture, be sure to use caution. If you are not comfortable doing it yourself, you can always hire local electricians Coral Springs to do the job for you.
Test the New Light Fixture
Before you put everything back in place, testing the new light fixture is important. Turn on the power to the light fixture and ensure the light bulb is working. Once you have verified that the new light fixture is working, you can screw in the light bulb (if it is not already screwed in) and reattach any covers or screws removed during the installation process.
If it is working, you have successfully replaced your home’s light fixture. If it is not working, you may need to consult the instructions with the new light fixture or hire local electricians Coral Springs to help you troubleshoot the problem.
Replacing a light fixture in your home is not difficult, but following the proper steps is important. This will ensure that you do not injure yourself and that the new light fixture is installed correctly. Excel Electrical Group is a professional electrical contractor Coral Springs that can help you with any light fixture installation or repair needs that you may have. We are always here to help, so please do not hesitate to contact us.


